Keras is a powerful and easy-to-use free open source Python library for developing and evaluating deep learning models. It wraps the efficient numerical computation libraries Theano and TensorFlow and allows you to define and train neural network models in just a few lines of code.
Keras is a high-level neural networks API, written in Python and capable of running on top of TensorFlow, CNTK, or Theano. It was developed with a focus on enabling fast experimentation. Being able to go from idea to result with the least possible delay is key to doing good research. In this tutorial, we will explore how to use Keras to build and train a machine learning model.
Installing Keras
Before we can begin using Keras, we need to install it. Keras is a Python library and can be installed using Python’s standard pip package manager. If you have Python and pip, you can install Keras in your Python environment with the following command:
pip install keras
Building a Neural Network with Keras
Let’s start by importing the necessary libraries. We’ll need NumPy for numerical computations, and keras.models and keras.layers for creating the neural network.
import numpy as np
from keras.models import Sequential
from keras.layers import Dense
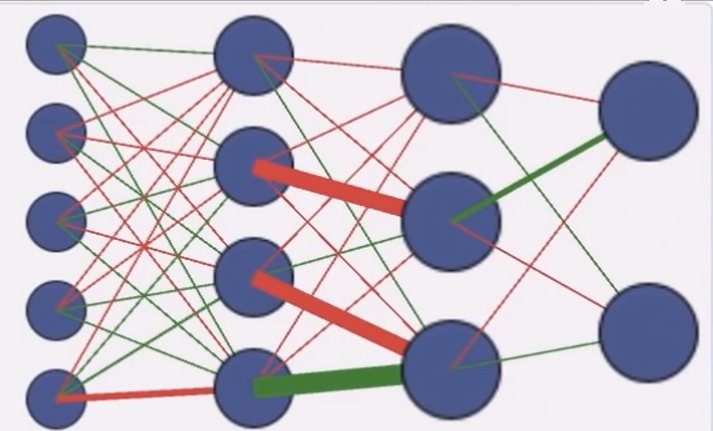
Next, we’ll define our neural network model. For this simple example, we’ll use a model with one densely connected hidden layer. We’ll also need an input layer and an output layer.
model = Sequential()
model.add(Dense(12, input_dim=8, activation='relu'))
model.add(Dense(8, activation='relu'))
model.add(Dense(1, activation='sigmoid'))
In this example, our network has 12 nodes in the hidden layer and the input dimension is 8. The activation function for the hidden layer nodes is the rectified linear unit (ReLU). The output layer has one node (since we’re only predicting one thing) and uses the sigmoid activation function to ensure our network output is between 0 and 1.
Next, we need to compile our model. Compiling the model takes two parameters: optimizer and loss.
The optimizer controls the learning rate. We will be using ‘adam’ as our optmizer. Adam is generally a good optimizer to use for many cases. The adam optimizer adjusts the learning rate throughout training.
The learning rate determines how fast the optimal weights for the model are calculated. A smaller learning rate may lead to more accurate weights (up to a certain point), but the time it takes to compute the weights will be longer.
model.compile(loss='binary_crossentropy', optimizer='adam', metrics=['accuracy'])
Now that the model is defined, we can fit the model to our data. Here we will use 10% of our data as a validation dataset, the model will set apart this fraction of the training data, will not train on it, and will evaluate the loss and any model metrics on this data at the end of each epoch.
history = model.fit(X, Y, validation_split=0.1, epochs=50, batch_size=10)
Evaluating The Model
We can evaluate the performance of our model on the same dataset we used to train it. This will give us a baseline indication of how well (or not) our model is doing. _, accuracy = model.evaluate(X, Y) print('Accuracy: %.2f' % (accuracy*100))
Making Predictions
Finally, we can use our trained model to make predictions using model.predict().
predictions = model.predict(X)
And there you have it! You’ve built your first neural network using Keras. This is just the tip of the iceberg, Keras is a powerful tool with much more to offer! Happy coding!